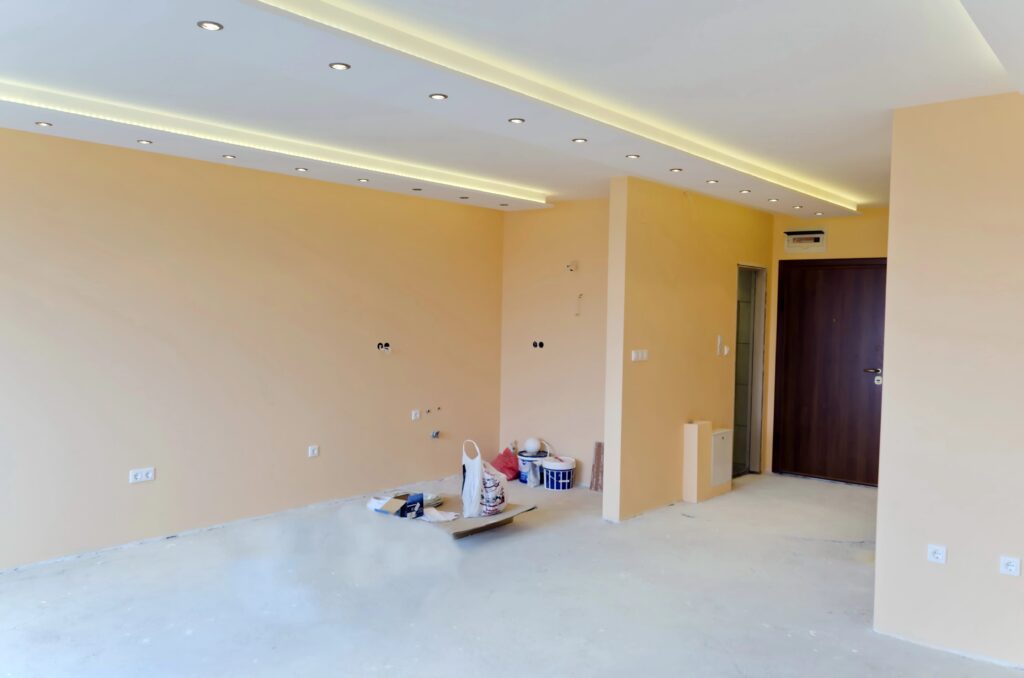
At Southern Painting, we believe that the foundation of a flawless paint job is thorough preparation. Whether you’re tackling interior walls, exterior siding, or cabinetry, preparing surfaces properly ensures that the paint adheres well, looks great, and lasts for years to come.
In this blog post, we’ll walk you through the essential steps to prepare surfaces for painting, along with some expert tips from our team of professionals. Proper preparation may take a little extra time, but it’s the key to achieving stunning, long-lasting results.
Why Surface Preparation Matters
Surface preparation is critical for several reasons:
- Improves Adhesion: Paint adheres best to clean, smooth, and primed surfaces. Without proper prep, it may peel, bubble, or crack over time.
- Enhances Durability: Prepping ensures that the paint can withstand daily wear and tear, as well as environmental factors like moisture or heat.
- Achieves a Professional Finish: A properly prepared surface allows for even application and a flawless, polished look.
- Prevents Common Issues: Addressing imperfections like cracks, holes, and stains beforehand minimizes the risk of problems appearing after the paint dries.
Steps to Prepare Surfaces for Painting
1. Clean the Surface
Start by thoroughly cleaning the surface to remove dirt, dust, grease, and grime. For interiors, use a mixture of warm water and mild detergent, then rinse with clean water and allow to dry completely. For exteriors, consider using a power washer to tackle tough stains, mold, and mildew.
Pro Tip: Use a degreaser on kitchen walls or surfaces prone to grease build-up to ensure proper paint adhesion.
2. Repair Imperfections
Inspect the surface for cracks, holes, or other damage. Use spackle or joint compound for small repairs on walls and ceilings, and a wood filler for gaps or dents in wooden surfaces.
- Sand the repaired areas once dry to create a smooth surface.
- For larger repairs, consider patching the area with drywall or specialized repair products.
Pro Tip: Use a flashlight to check for uneven spots on walls—it helps highlight imperfections.
3. Sand the Surface
Sanding creates a smooth, even surface for paint to adhere to and removes any glossy finishes or rough patches.
- For interior walls, use fine-grit sandpaper to smooth out bumps and old paint drips.
- For wooden surfaces like cabinets or trim, sand with the grain using medium-grit sandpaper and finish with fine-grit sandpaper.
Pro Tip: Always wear a dust mask and goggles when sanding to protect yourself from dust particles.
4. Remove Dust and Debris
After sanding, wipe down the surface with a damp cloth or tack cloth to remove all dust and debris. Dust particles can ruin the finish by causing bumps or imperfections in the paint.
5. Prime the Surface
Primer is a crucial step in the preparation process, especially for:
- Bare wood
- Surfaces previously painted with oil-based paint
- Walls with stains, discoloration, or uneven textures
- New drywall
Primer creates a uniform base that improves paint adhesion, enhances color vibrancy, and prevents stains from bleeding through. Choose a primer that’s compatible with your chosen paint type and the surface material.
Pro Tip: Use a tinted primer if you’re painting over a dark color with a lighter shade to reduce the number of coats needed.
6. Mask and Protect Surrounding Areas
Protect floors, trim, and furniture by covering them with drop cloths, plastic sheeting, or painter’s tape. Carefully tape off edges to ensure clean lines and prevent accidental paint splatters.
Pro Tip: Use high-quality painter’s tape for a secure seal and remove it immediately after painting to avoid peeling.
Common Mistakes to Avoid
- Skipping the Cleaning Step: Paint won’t adhere properly to dirty or greasy surfaces.
- Ignoring Repairs: Unfixed cracks or holes will show through, even after multiple coats of paint.
- Skipping Primer: Primer is essential for certain surfaces and situations to achieve the best results.
- Rushing the Process: Allow adequate drying time between preparation steps to ensure lasting durability.
Why Choose Southern Painting LLC?
At Southern Painting LLC, we understand the importance of surface preparation and take the time to do it right. Our professional team handles everything—from cleaning and repairs to priming and taping—so you can enjoy a flawless finish without lifting a finger.
- Experience You Can Trust: With years of expertise, we’ve mastered the art of preparation and painting.
- Top-Quality Materials: We use premium paints, primers, and tools for results that last.
- Customer-Focused Service: We take pride in delivering a stress-free, professional experience from start to finish.
Ready to Transform Your Home?
Proper surface preparation is crucial for any successful paint job. When you choose Southern Painting LLC, you’re choosing a team that prioritizes quality, precision, and your satisfaction.
Contact us today to schedule a consultation and let us bring your vision to life with expert craftsmanship and attention to detail. With Southern Painting LLC, your dream home is just a brushstroke away!